Step-by-Step Retro Console Repair & Maintenance Guide
The allure of retro gaming consoles is undeniable. These classic systems, from the NES to the Sega Genesis, have captured the hearts of gamers for generations. However, as time passes, these beloved devices can face various issues due to aging hardware and outdated technology. This comprehensive guide is dedicated to helping enthusiasts and collectors alike in repairing and maintaining their cherished retro consoles, ensuring these timeless gaming treasures continue to provide joy and nostalgia.
Understanding the Basics of Retro Console Care
The Importance of Regular Maintenance
Before diving into the specifics of repair, it’s essential to understand the importance of regular maintenance. Retro consoles, much like any electronic device, require care to function optimally. Dust accumulation, connector corrosion, and thermal stress are common issues that can be mitigated with routine maintenance.
Identifying Common Issues
Common issues with retro consoles include cartridge reading errors, audio-video problems, power supply issues, and controller malfunctions. Learning to identify these problems is the first step in effective troubleshooting.
Tools and Materials for Console Repair
Essential Tools
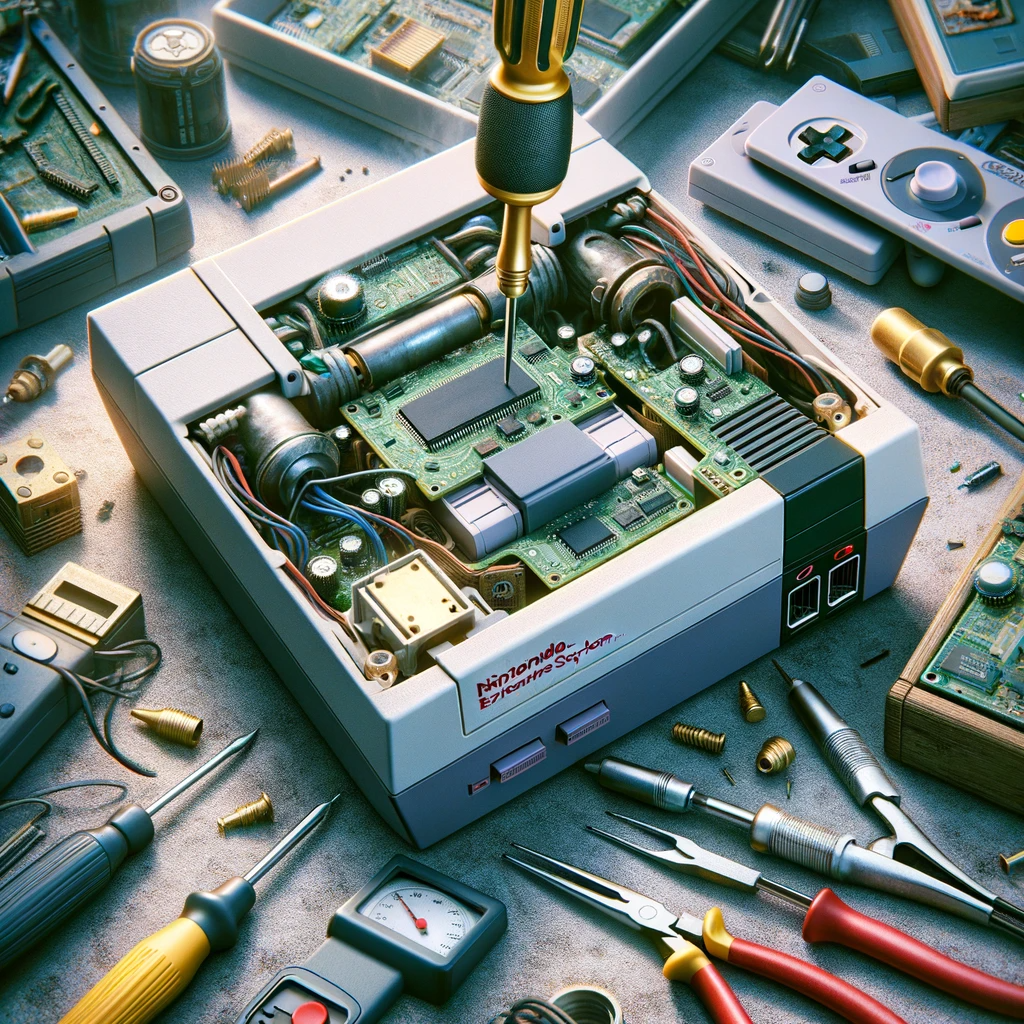
A well-equipped toolkit is vital for any repair work. Key tools include:
- Screwdrivers (Phillips and flat-head)
- Soldering iron and solder
- Multimeter
- Cleaning materials (isopropyl alcohol, compressed air, cotton swabs)
Safety Precautions
Always prioritize safety when working with electronics. Ensure your workspace is well-ventilated, avoid working on a powered-on console, and wear anti-static wristbands when handling circuit boards.
Step-by-Step Guide to Console Cleaning and Basic Repairs
Cleaning Internal Components
- Disassemble the console carefully, noting the placement of screws and components.
- Clean dust and debris using compressed air and a soft brush.
- Clean contact points and cartridge slots with isopropyl alcohol and cotton swabs.
Repairing Common Cartridge Issues
Cartridge-based systems often face reading errors due to dirty or damaged contacts.
- Clean cartridge contacts with isopropyl alcohol.
- Gently bend the contacts for better connection, if necessary.
- Test the cartridge in the console.
Audio-Video Troubleshooting
Poor audio or video output can often be traced back to connection issues or aging capacitors.
- Check and clean all AV cables and connections.
- Inspect the console’s capacitors for bulging or leakage and replace if needed.
- Adjust the console’s internal settings, if applicable.
Regular Maintenance: Keeping Your Console in Prime Condition
Cleaning Techniques
- Exterior Cleaning: Use a soft, dry cloth to wipe the console. For tougher grime, a slightly damp cloth with mild detergent works well.
- Interior Dusting: Regularly open the console (with appropriate screwdrivers) and gently use compressed air to remove dust.
- Connector Care: Clean cartridge slots with isopropyl alcohol and cotton swabs.
Environment Matters
- Avoid Direct Sunlight: To prevent color fading and plastic degradation.
- Temperature Control: Store in a cool, dry place to prevent electronic damage.
- Humidity Awareness: Excess moisture can lead to rusting and electronic failures.
Storage Tips
- Original Packaging: If available, store in the original box to provide the best protection.
- Anti-Static Bags: Ideal for storing individual components or cartridges.
Troubleshooting and Minor Repairs
Common Console Issues and Solutions
- Not Powering On: Check and replace fuses or capacitors as needed.
- Distorted Audio/Video: Re-solder broken connections or replace aging AV cables.
- Unresponsive Controllers: Clean or replace worn-out buttons and contacts.
Essential Tools for DIY Repairs
- Screwdriver Set: For opening console cases and controllers.
- Soldering Iron and Solder: Essential for repairing electrical connections.
- Multimeter: For diagnosing electrical issues.
- Isopropyl Alcohol and Cotton Swabs: For cleaning contacts and connectors.
Repair or Replace? When facing complex issues like motherboard failures, consider the cost-benefit of repairs versus replacements. In some cases, sourcing parts for vintage consoles can be more expensive than finding a replacement unit.
As we journey through the fascinating world of retro console care, remember that patience and attention to detail are your best tools. Stay tuned as we delve deeper into advanced repair techniques and customization tips to elevate your retro gaming experience to the next level.
Advanced Repair Techniques for Retro Consoles
After covering the basics of console maintenance and minor repairs, we now venture into the more intricate realm of advanced repair techniques. These methods are designed for those instances where standard troubleshooting doesn’t resolve the issues. Here, we’ll explore some of the more complex problems and their solutions, ensuring your retro gaming experience remains uninterrupted.
Capacitor Replacement: Reviving the Old Heart
Capacitors in retro consoles, especially those from the 1980s and 1990s, are prone to failure over time. Symptoms of capacitor issues include distorted audio, dimming screens, or even complete failure to power on.
- Identifying Faulty Capacitors: Look for capacitors that are bulging, leaking, or have a crusty residue around them.
- Desoldering and Removing: Carefully desolder the old capacitors from the motherboard.
- Choosing the Right Replacement: Ensure the new capacitors match the specifications (voltage and capacitance) of the old ones.
- Soldering New Capacitors: Attach the new capacitors, taking care to align the polarity correctly.
Trace Repair: Fixing the Pathways
Damaged traces (the thin lines of copper on the motherboard that connect components) can cause a variety of issues. Repairing them requires precision and patience.
- Locating the Damage: Use a multimeter to trace the connectivity break.
- Cleaning the Area: Remove any corrosion or debris from the affected trace.
- Bridging the Gap: Use a fine wire to reconnect the broken trace segments, soldering it carefully in place.
Chip Replacements: A Delicate Task
Sometimes, the issue lies within a specific chip on the motherboard. Replacing a chip is a delicate process and usually the last resort.
- Diagnosis: Identify the faulty chip through symptoms or a process of elimination.
- Desoldering the Old Chip: Use a soldering wick or desoldering gun to remove the chip.
- Installing the New Chip: Solder the new chip in place, ensuring proper alignment and no short circuits.
Customization and Upgrades: Enhancing Your Retro Console
While repairing your console is essential, customization and upgrades can enhance its functionality and longevity.
AV Output Upgrades: From RF to HDMI
Older consoles primarily used RF or composite outputs, which are not ideal for modern TVs. Upgrading to HDMI can drastically improve video quality.
- HDMI Mod Kits: These kits are available for many retro consoles, providing clear instructions for installation.
- Professional Installation: If you’re not confident in your soldering skills, consider a professional service for this upgrade.
Shell and Controller Customization
Custom shells and controllers not only refresh the look of your console but can also provide ergonomic improvements.
- Third-Party Shells: These come in various designs and colors, allowing you to personalize your console’s appearance.
- Custom Controllers: Options range from aesthetic changes to functionality improvements like wireless capabilities.
Cooling Enhancements: Preventing Overheating
Overheating can shorten the lifespan of your console. Simple cooling enhancements can make a significant difference.
- Heat Sinks: Attaching heat sinks to the main processor can help dissipate heat.
- Improved Ventilation: Ensuring your console has good airflow and, if necessary, adding additional cooling fans can prevent overheating.
Beyond Basic Maintenance
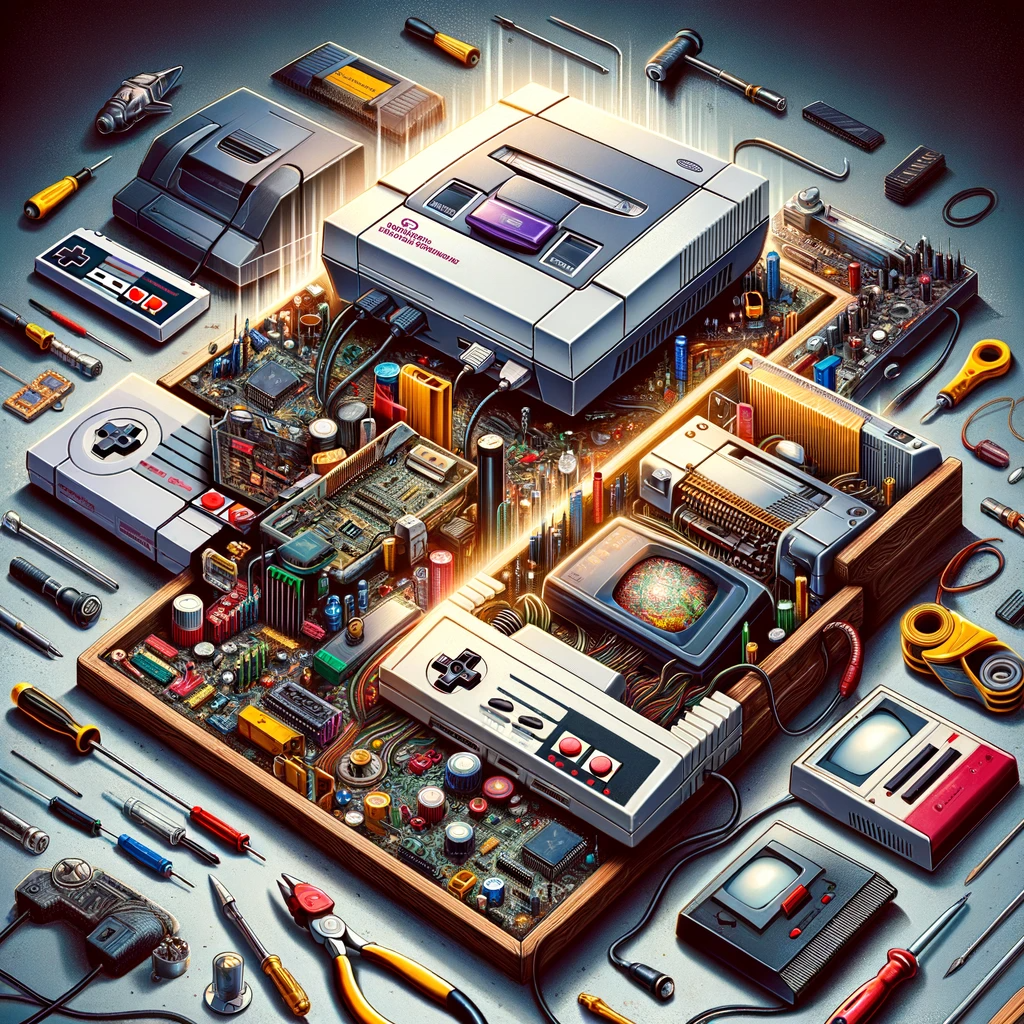
In this segment, we’ve explored the more advanced aspects of retro console care, from intricate repairs to exciting customizations. By understanding and applying these techniques, you not only preserve these classic gaming machines but also enhance your gaming experience.
Stay tuned for the final part of this guide, where we’ll dive into the world of preventive measures and long-term care strategies to ensure that your retro consoles continue to provide joy and nostalgia for years to come.
Long-Term Care and Preventive Strategies for Retro Consoles
As we reach the final chapter of our definitive guide on repairing and maintaining retro consoles, it’s crucial to focus on long-term care and preventive measures. These strategies will ensure that your consoles not only function well today but continue to do so for years to come.
Developing a Regular Maintenance Routine
Consistent care is key to preserving the life of your retro gaming consoles. Here’s a simple routine to follow:
- Monthly Inspections: Regularly inspect your console for signs of wear, tear, or dust accumulation.
- Bi-annual Deep Cleaning: Plan for a thorough cleaning every six months. This includes opening up the console to clean internal components.
- Annual Performance Check: Test all functions of the console, including buttons, ports, and game loading, to ensure everything is operating smoothly.
The Importance of Proper Storage
Storing your console correctly can greatly extend its lifespan. Here are some tips:
- Avoid Extreme Temperatures: Store your console in a climate-controlled environment.
- Control Humidity: Use silica gel packets or a dehumidifier in the storage area to prevent moisture buildup.
- Physical Protection: Use padded storage cases to protect against physical damage.
Upgrading for Longevity
Sometimes, upgrading parts of the console can significantly extend its useful life.
- Power Supply Replacement: Older power supplies can be inefficient and prone to failure. Consider replacing them with modern, more reliable ones.
- Memory Battery Replacement: For consoles with save functionality, replacing old batteries can prevent data loss.
Confirmed Airdrop Guide: How to Claim Your FREE $PIXEL Tokens
The 10 Best Play-to-Earn (P2E) Games to Play in 2026
Best GameFi Exchange 2026: Binance vs. Coinbase vs. Bybit
Resident Evil 9: Release Date, Leaked Trailer & New Story Details
🧟 Resident Evil 9: Release Date, Leaked Trailer & New Story Details In 27 February…
Top 5 Open-World Games in 2025: Explore Endless Possibilities
Top 5 Open-World Games in 2025: Explore Endless Possibilities Open-world games have revolutionized the gaming…
Earning Money by Playing: Best NFT Games of the Year
Educational Resources and Community Involvement
Staying informed and involved with the retro gaming community can provide valuable resources and support.
- Online Forums and Groups: Platforms like Reddit, Discord, and specific gaming forums are great places to seek advice, find parts, and share experiences.
- Workshops and Meetups: Participate in local or online workshops and meetups to learn new skills and connect with other enthusiasts.
The Role of Professional Services
While DIY repairs can be fulfilling, sometimes professional help is needed, especially for complex issues.
- Seeking Expert Repairs: For issues beyond your skill level, consult with a professional repair service.
- Restoration Services: Some services specialize in the restoration of retro consoles, ensuring they stay as close to their original state as possible.
Preserving the Legacy
In this guide, we’ve traversed the journey from basic maintenance to advanced repairs, and finally, to long-term preservation strategies for retro consoles. These timeless pieces of technology not only represent a nostalgic era of gaming but also offer a unique charm that modern consoles have yet to replicate. By following this comprehensive guide, you ensure that these retro gaming machines continue to bring joy and nostalgia to gamers for many more years to come.
Your retro console is more than just a gaming device; it’s a piece of history, a slice of childhood memories, and a testament to the evolution of technology. Treat it with care, and it will remain a treasured part of your gaming collection, a bridge between past and present, connecting generations of gamers through the love of classic gaming experiences.
-
Drákron – The Earthfang Beast
Original price was: $ 29.99.$ 18.99Current price is: $ 18.99. -
Zarnok – The Venomspike Tyrant
Original price was: $ 29.99.$ 19.99Current price is: $ 19.99. -
Lunara – Whispering Bloom Dragon
Original price was: $ 29.99.$ 22.99Current price is: $ 22.99. -
Noctyros – The Abysswing Sovereign
Original price was: $ 29.99.$ 24.99Current price is: $ 24.99. -
Zephyron – The Skyblade Phantom
Original price was: $ 29.99.$ 17.99Current price is: $ 17.99.

